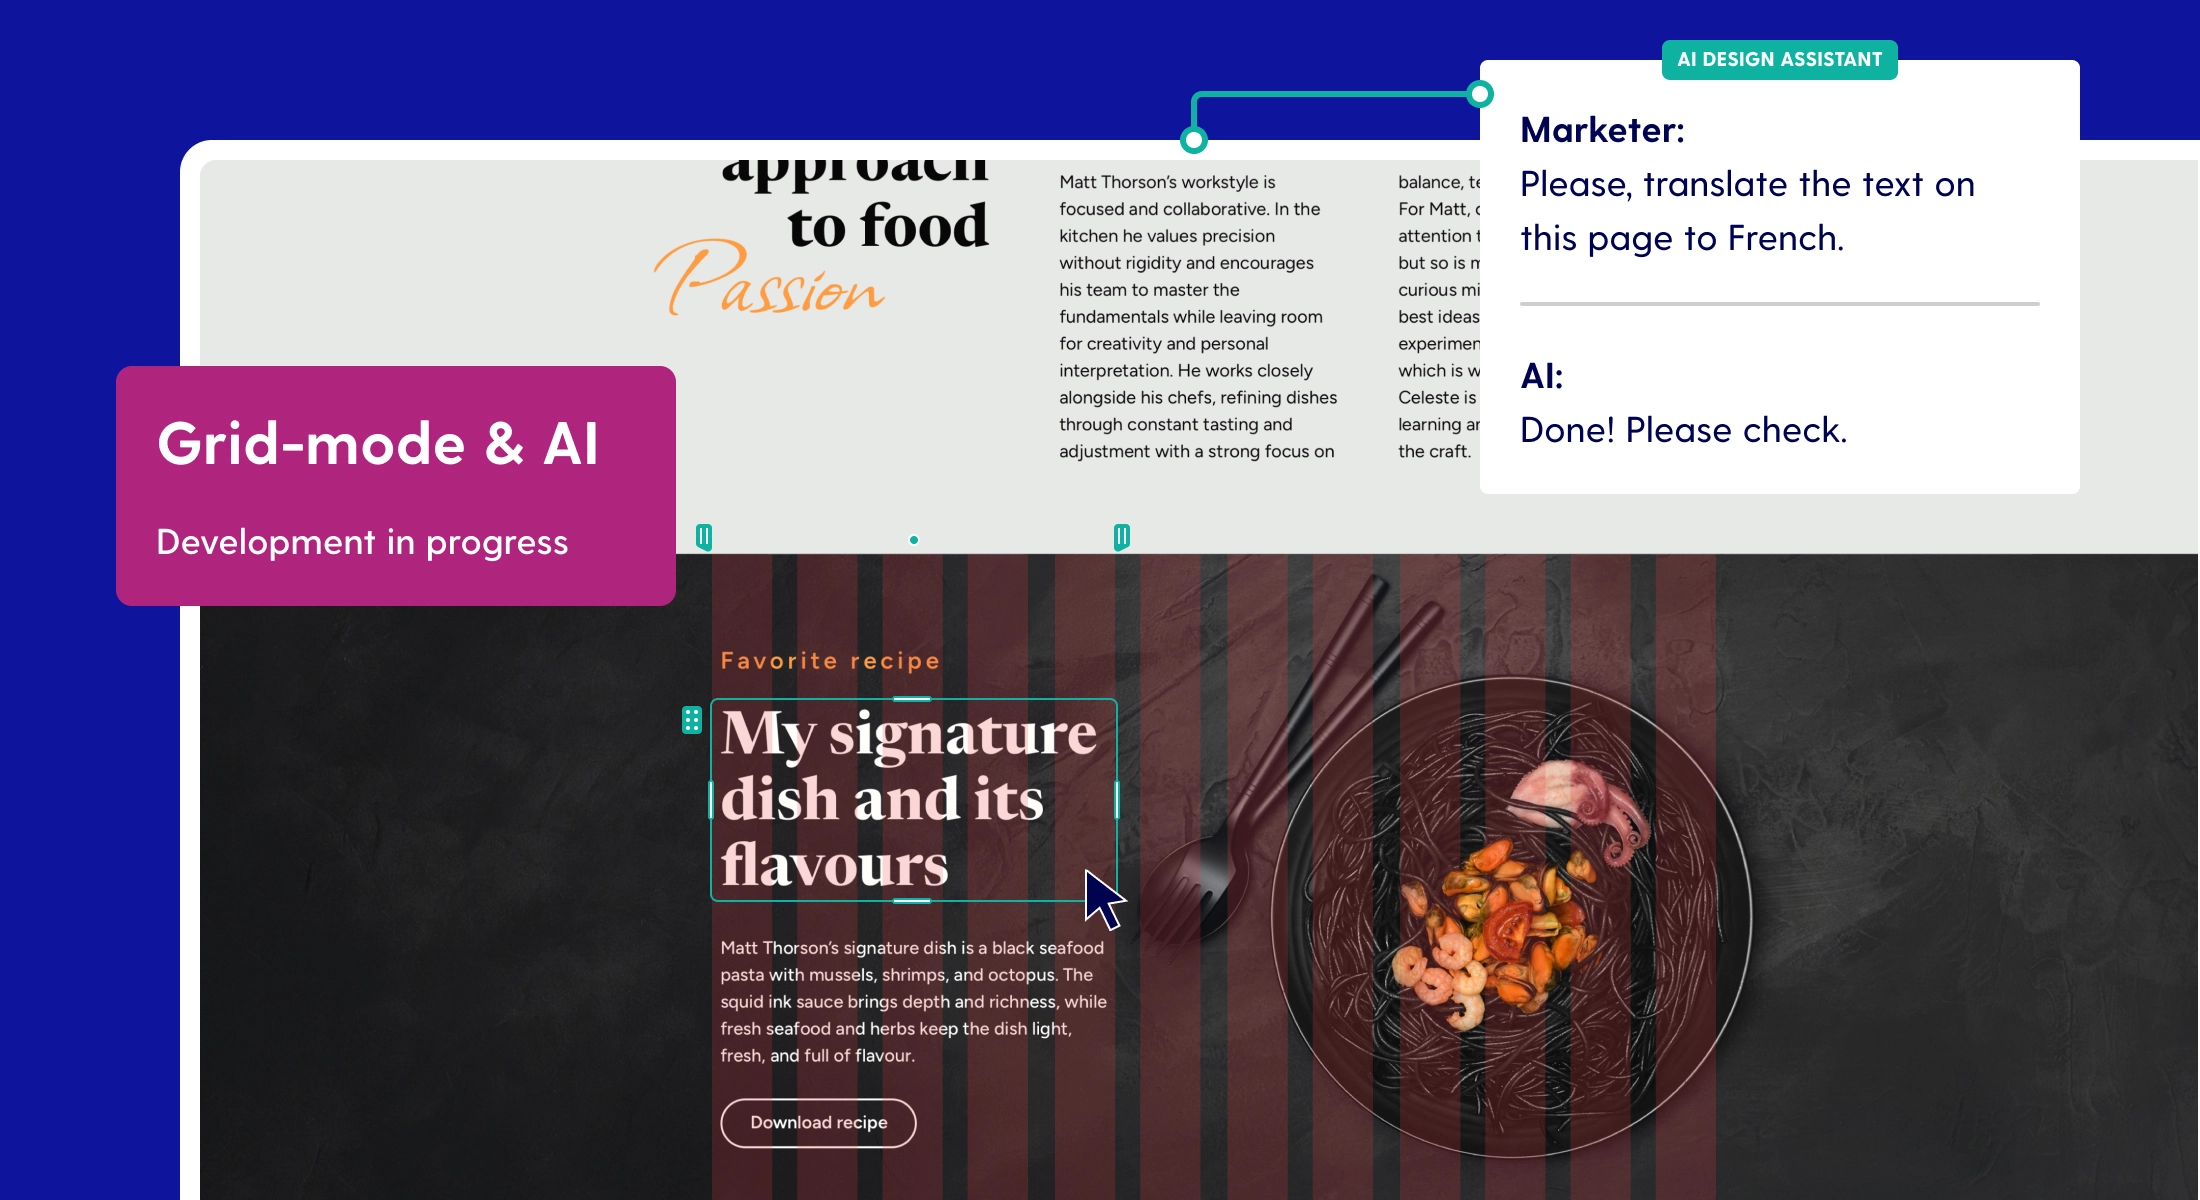
Create style collections to streamline your design process in Pro
Lo and behold, it's time to release one of the most highly requested features for the Pro editor. You can now predefine styles and apply them to elements throughout your project with one click.
Why style configuration and collections are a much wanted feature
If you're a seasoned designer that is familiar with style configurations in other design software (i.e. Figma), you probably understand their added value. For those unfamiliar, now is your time to dive in. Being able to work with predefined style collections comes with many benefits:
- Faster designing because styles are applied quickly;
- Consistency throughout your design;
- Easier to maintain styles from a central configuration;
- No cumbersome manual adjustment with options to sync elements.
Getting started with Maglr Pro style collections
Let's dive into Maglr style collections. We'll provide a step-by-step of the essentials.
Availability of style collections
A style collection can be available on two levels:
- Project styles provide styles that are available for use only within the context of the current project.
- Global styles provide styles that are available for use throughout every project in your license environment. They can be linked and unlinked from a project at any time.
When you create a new style collection, you will be creating a project style by default. You can convert it to a global style collection by going into its settings and enabling the checkbox. Once global, a style collection can be linked (and unlinked) to any project within said license environment.

Creating a new style collection
We'll first need to create a new style collection. Go to your options tab and select "styles". Click on the area under "project styles" to start creating your styles.

Defining styles
You can define styles for headings, paragraphs, buttons, shapes and images. Click on the "+" to add an element style. You'll find that you can set styles for both desktop and mobile use. Click on the one you wish to add styles for and use the panel on the right to change styling properties as you normally would in the editor.
There's a separate tab for your style collection settings, such as the name and perhaps a background color (for when you want to see what styled elements look like on a certain color).
Creating color variants
Aside from your base styles, you can design color variants. These are styles that deviate from your base styles. For example, if your base styles work well on a light background, but don't provide enough contrast on a dark background, you might want to create a variant with a slightly different color. In such a case, it's easy to create a color variant that takes on all the properties of your base styles but can have certain properties that vary slightly.

Applying a style to an element
Once your style collection's ready, we can start applying styles to elements. It's simple: select the element you'd like to apply a style to and look at the "settings" tab. You'll find a section that says "No style set". Upon clicking, a dropdown menu will appear with all your configured style collections. Select your style to apply and you're done!

Styles can be reset, synced and overridden
Styles are flexible. Alongside your applied styles, it's possible to make changes and additions. You can also quickly sync elements to the applied style collection order to remove any exceptions.
Overriding and adding style properties to styled elements
In some situations, you'll wish to deviate slightly from the applied style. For example, text that needs to be centered or a border to make a shape stand out against a busy background. In that case, it's possible to override or add properties alongside your chosen style in the editor without it affecting the style collection.
Changes will be accompanied by either a pink or a blue marker, which mean the following:
- Pink for overrides: if a style property has a pink marker, it means the style property is set in the configured style collection, but its value has been overridden manually in the editor.
- Blue for additions: if a style property has a blue dot, it means the style property is not configured in your style collection but has been added manually via the editor. Hence, it is an "additional" styling property--because it was added alongside the configured styles.
Insight into style usage
Pages may quickly become bulky and complex. That's why we provide an overview of your style usage throughout your document. It shows:
- which styles you're drawing from which collection;
- the usage count on desktop and mobile;
- and how many elements have overrides and/or additions.
From this view, you're able to manage overrides and additions, which we will explain in the next step.

Syncing styles
Styled elements can have properties that are overridden (pink marker) and/or additional style properties (blue marker). In this case, your element is "out of sync" with its originally applied style.
"Syncing" your element(s) to your style collection means that you are bringing an element back to its original state. Any overrides or additional style properties will be removed from the page you are currently working on. You can sync styles to only remove overrides, additions or both.
Removing style overrides
A style override is recognisable by a pink marker. You can re-sync single properties or whole elements to the original style collection by:
- Clicking the pink marker next to overridden properties
- Going into your your "style usage" overview and selecting the elements you wish to sync. Click the "sync styles" button and choose the option to remove overrides.
Removing style additions
Style additions can be identified by a blue marker. You can revert such additional properties back to its original state in two ways.
- Manually remove the properties by selecting the element en clicking a blue marker
- Go into your "style usage" overview, select the element you wish to remove additions from and click "sync styles". Select the option to remove all additions.

Detaching a style
With applying styles, comes detaching styles. Select the element with the style you want to detach and click the ellipses ("..."). Select "Detach style" from the dropdown menu.
Detaching a style means that it no longer has a connection to your style collection. Visually, the element remains styled, but it can no longer be synced.
A note on editing global styles and user rights
This marks the first step towards predefined style collections in Maglr Pro. To release the feature sooner, and in small steps, we've had to make deliberate decisions in what to include in the first phase. As a result, we had to leave out any logic in regards to user rights, such as who's able to create, edit, link and delete style collections--meaning any user has full rights at this time. It could be helpful to discuss with your team who's responsible for maintaining style collections to prevent unwanted changes.
Additionally, editing a global style does not update linked projects in your license environment automatically. At this moment, syncing a project to your improved style collection needs to happen manually per page. Due to the Pro editor's freeform nature, there's a risk of content overlapping (for example when font size increases). Hence a manual check is required.
Feedback is what helps us improve. We're grateful for anyone that wants to share their experiences with style collections either through chat (in the platform) or by emailing to info@maglr.com!
Bonus: new and improved menu!
The Pro editor and its options is growing which called for a revised "options" menu. With the addition of style collections, we've updated our UI into a combined menu in the left-top corner. You'll find the same options (and more) as with the previous menu, though in more logical structure and accompanied by icons for clarity.